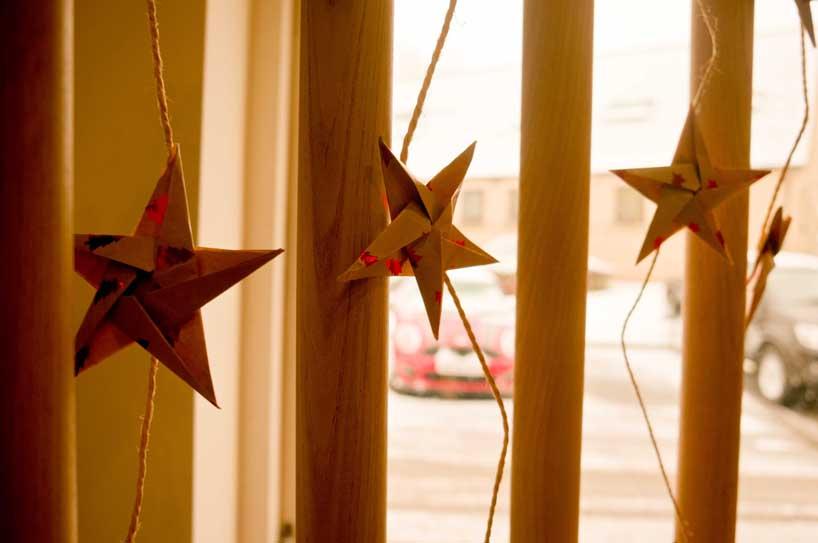
It just wouldn’t be Christmas without a few handcrafted decorations. One of our festive favourites are five-point origami stars. They can be strung together to hang between balusters, blu-tacked to doors or used to fill decorative bowls. If you fancy making some of your own, you’re in luck! We’ve made a quick how-to guide for you below.
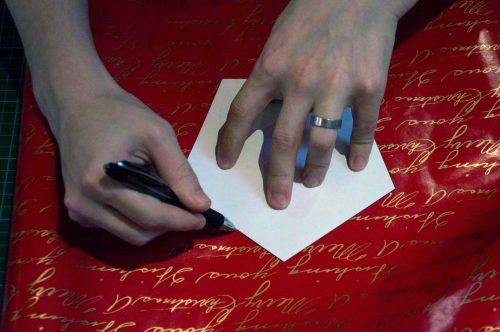
Step 1. To start things off you need to make a pentagon. To make this easier, we’ve made this printable template for you to follow. Simply cut out the pentagon.
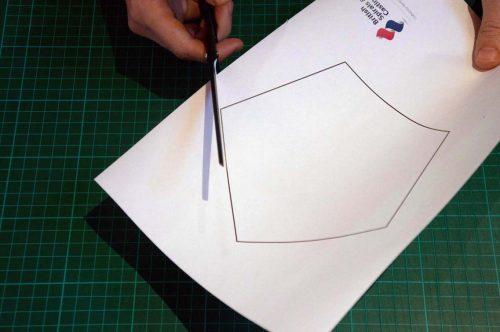
You can now use the pentagon as a guide to trace onto whatever decorative paper you’re planning to use for the stars.
Step 2. Once you’ve cut your pentagons you need to fold them in half through one of the five points.
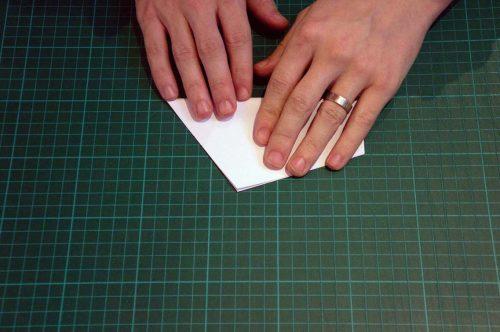
Unfold the paper, rotate it clockwise and then refold it in half through the next point.
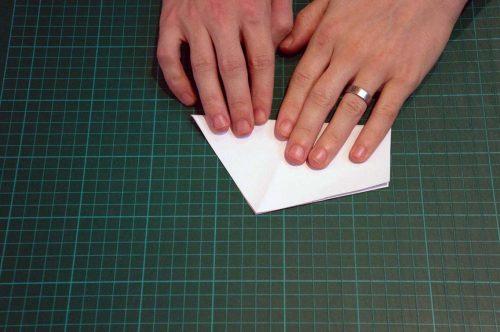
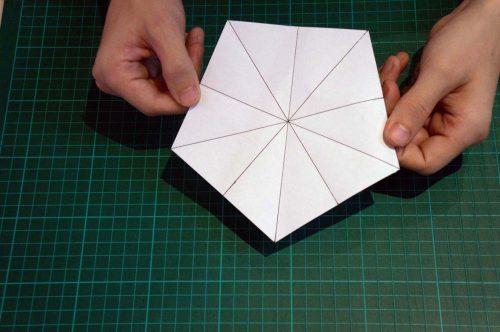
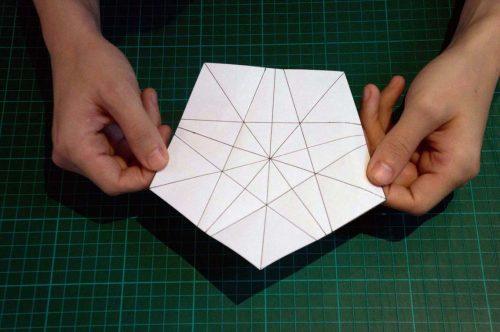
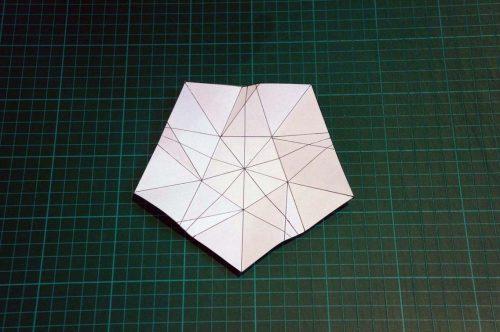
Keep spinning the paper round until you’ve folded it in half through all five points. Once you’ve finished, the folded paper should look like this (we’ve drawn over the fold lines to make them easier to see).
Step 3. Next turn the paper so one point is facing away from you, then take the bottom two corners and fold them over until the points touch the fold lines for the upper-left and upper-right corners.

Unfold the paper, then repeat this fold across all five sides of the pentagon. When you’ve finished the folds on your paper should now look like this.
Step 4. Fold the bottom left and upper left corners across using the fold you’ve just made. Then, hold the top corner of the fold down flat.
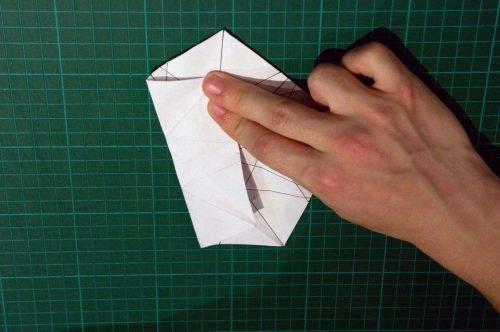
Now pinch the bottom corner of the fold and pull it out to the left.
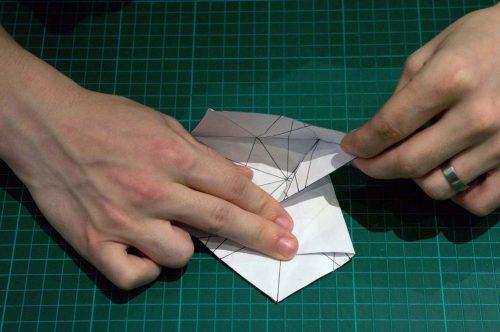
Still holding down the top corner, fold the bottom corner down flat.
Once it is folded over it should look like this:
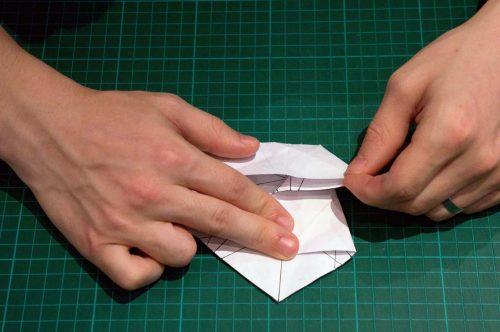
Unfold, then repeat this process through all five corners and you’ll end up with a piece of paper that looks like this:
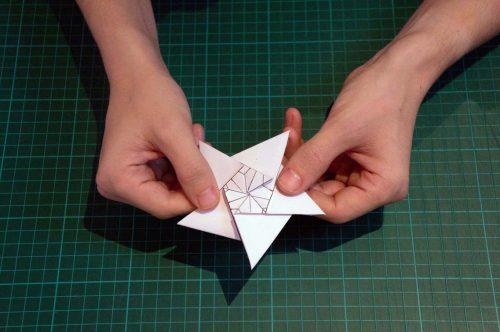
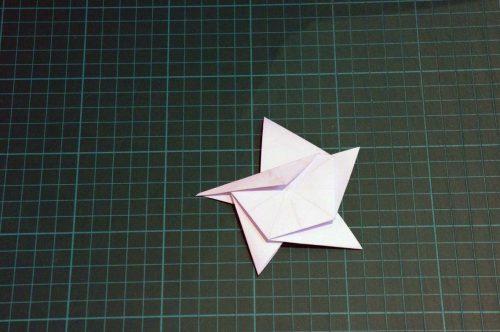
Step 5. Now comes the slightly tricky part: Pinch all five corners and bring them into the middle and then fold them down flat. It’s a little fiddly, but once you have all five corners together they should easily fold down.

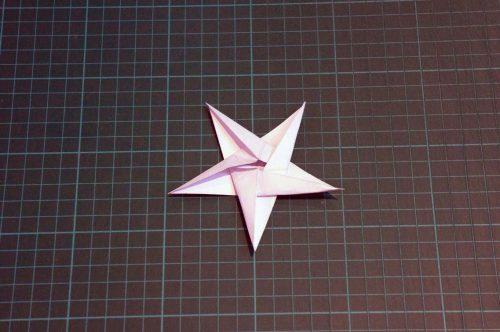
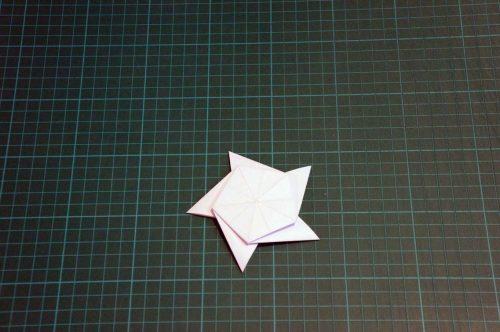
When all five corners are folded in your paper, the star should really be taking shape.
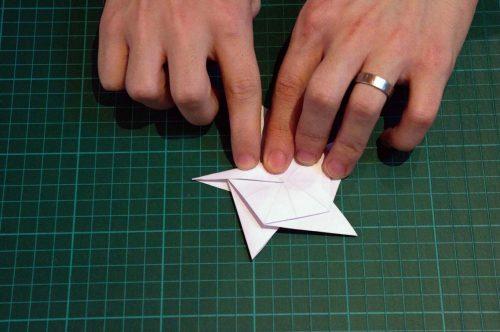
Step 6. Flip the star over.
Then fold each point in half:
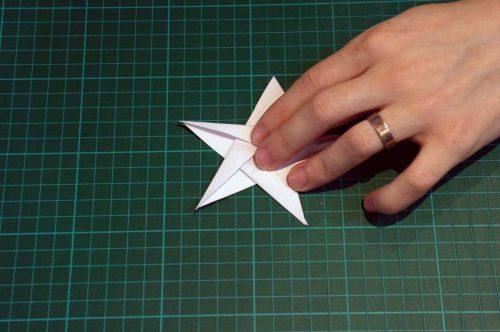
Do the same through all five points. Celebrate! You’ve just created your first origami star!